Using Coffee Grounds in Your Garden: A Sustainable and Beneficial Practice


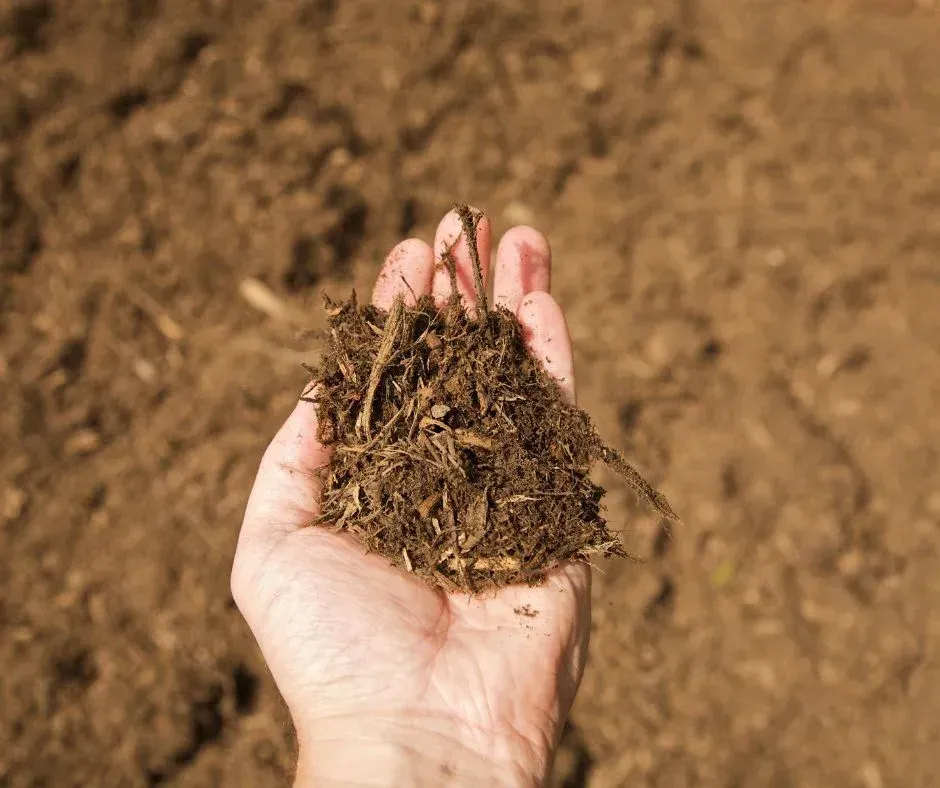
Are you a coffee lover looking for ways to reduce waste and improve your garden's health? Look no further than your daily dose of caffeine! Coffee grounds, the byproduct of brewing coffee, can be a valuable addition to your gardening routine. In this blog, we'll explore the benefits of using coffee grounds in your garden and provide tips for incorporating them into your sustainable gardening practices.


Benefits of Using Coffee Grounds in Your Garden


  1. Improve Soil Structure: Coffee grounds are rich in organic matter and can help improve the structure of your soil. They can loosen up compacted soil, which promotes better water and air circulation. This allows for healthy root development and overall plant growth.

  2. Increase Nutrient Content: Coffee grounds contain essential nutrients for plant growth, including nitrogen, phosphorus, and potassium. Adding coffee grounds to your soil can increase nutrient content, promoting healthier plant growth and higher yields.

  3. Attract Earthworms: Earthworms are essential for healthy soil. They help aerate the soil, improve drainage, and break down organic matter. Coffee grounds can attract earthworms, further improving soil quality and plant growth.

  4. Repel Pests: Coffee grounds contain compounds that are toxic to some pests, such as slugs and snails. Sprinkling coffee grounds around plants that are susceptible to these pests can help deter them from damaging your plants.

  5. Reduce Waste: Using coffee grounds in your garden is a great way to recycle a waste product. Instead of throwing away used coffee grounds, you can put them to use in your garden.


Tips for Using Coffee Grounds in Your Garden


  1. Use in Moderation: While coffee grounds can be beneficial for your garden, using too much can have negative effects on your soil's pH and nutrient levels. It's recommended to use no more than 10-20% coffee grounds in your soil.

  2. Compost First: If you're planning to add coffee grounds directly to your garden, it's best to compost them first. This will help to break down any acidic compounds in the coffee and make the nutrients more available to your plants.

  3. Apply Evenly: When adding coffee grounds to your garden, it's important to apply them evenly around your plants. This will help prevent clumping, which can lead to uneven nutrient distribution and potential damage to your plants.


Incorporating coffee grounds into your garden can be a sustainable and beneficial practice for both your plants and the environment. By following these tips and using coffee grounds in moderation, you can enjoy the benefits of this waste product in your garden. So, the next time you're brewing a pot of coffee, don't throw away the grounds - put them to use in your garden!
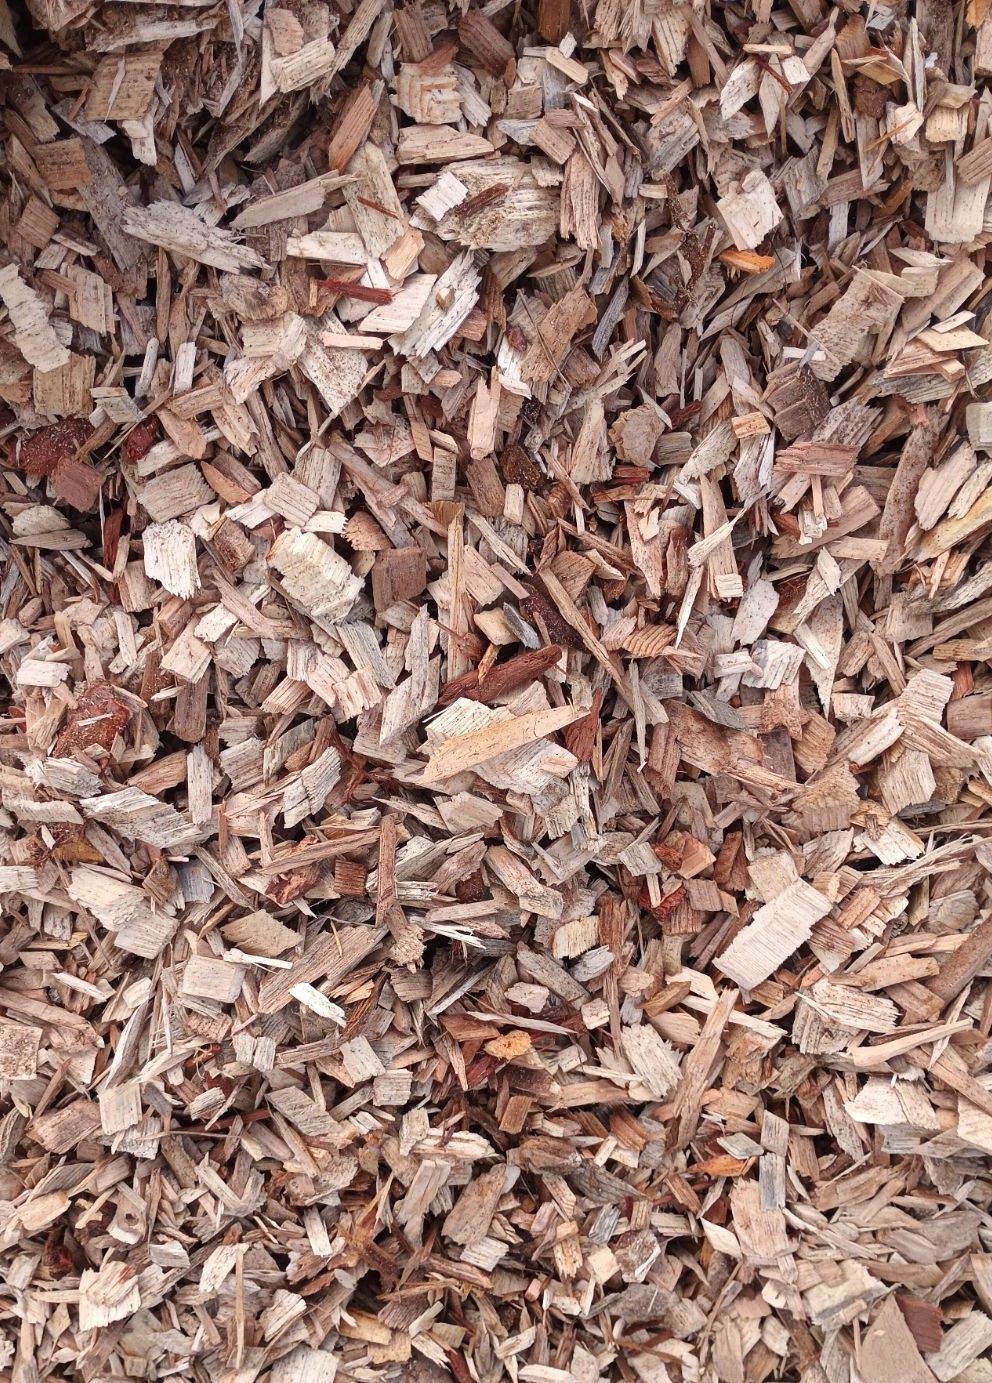
Close-up of brown wood chips mulch filling the frame
June 28, 2026
Learn how to calculate soil, mulch, gravel, and rock quantities for landscaping projects. Avoid costly ordering mistakes with this practical estimating guide.
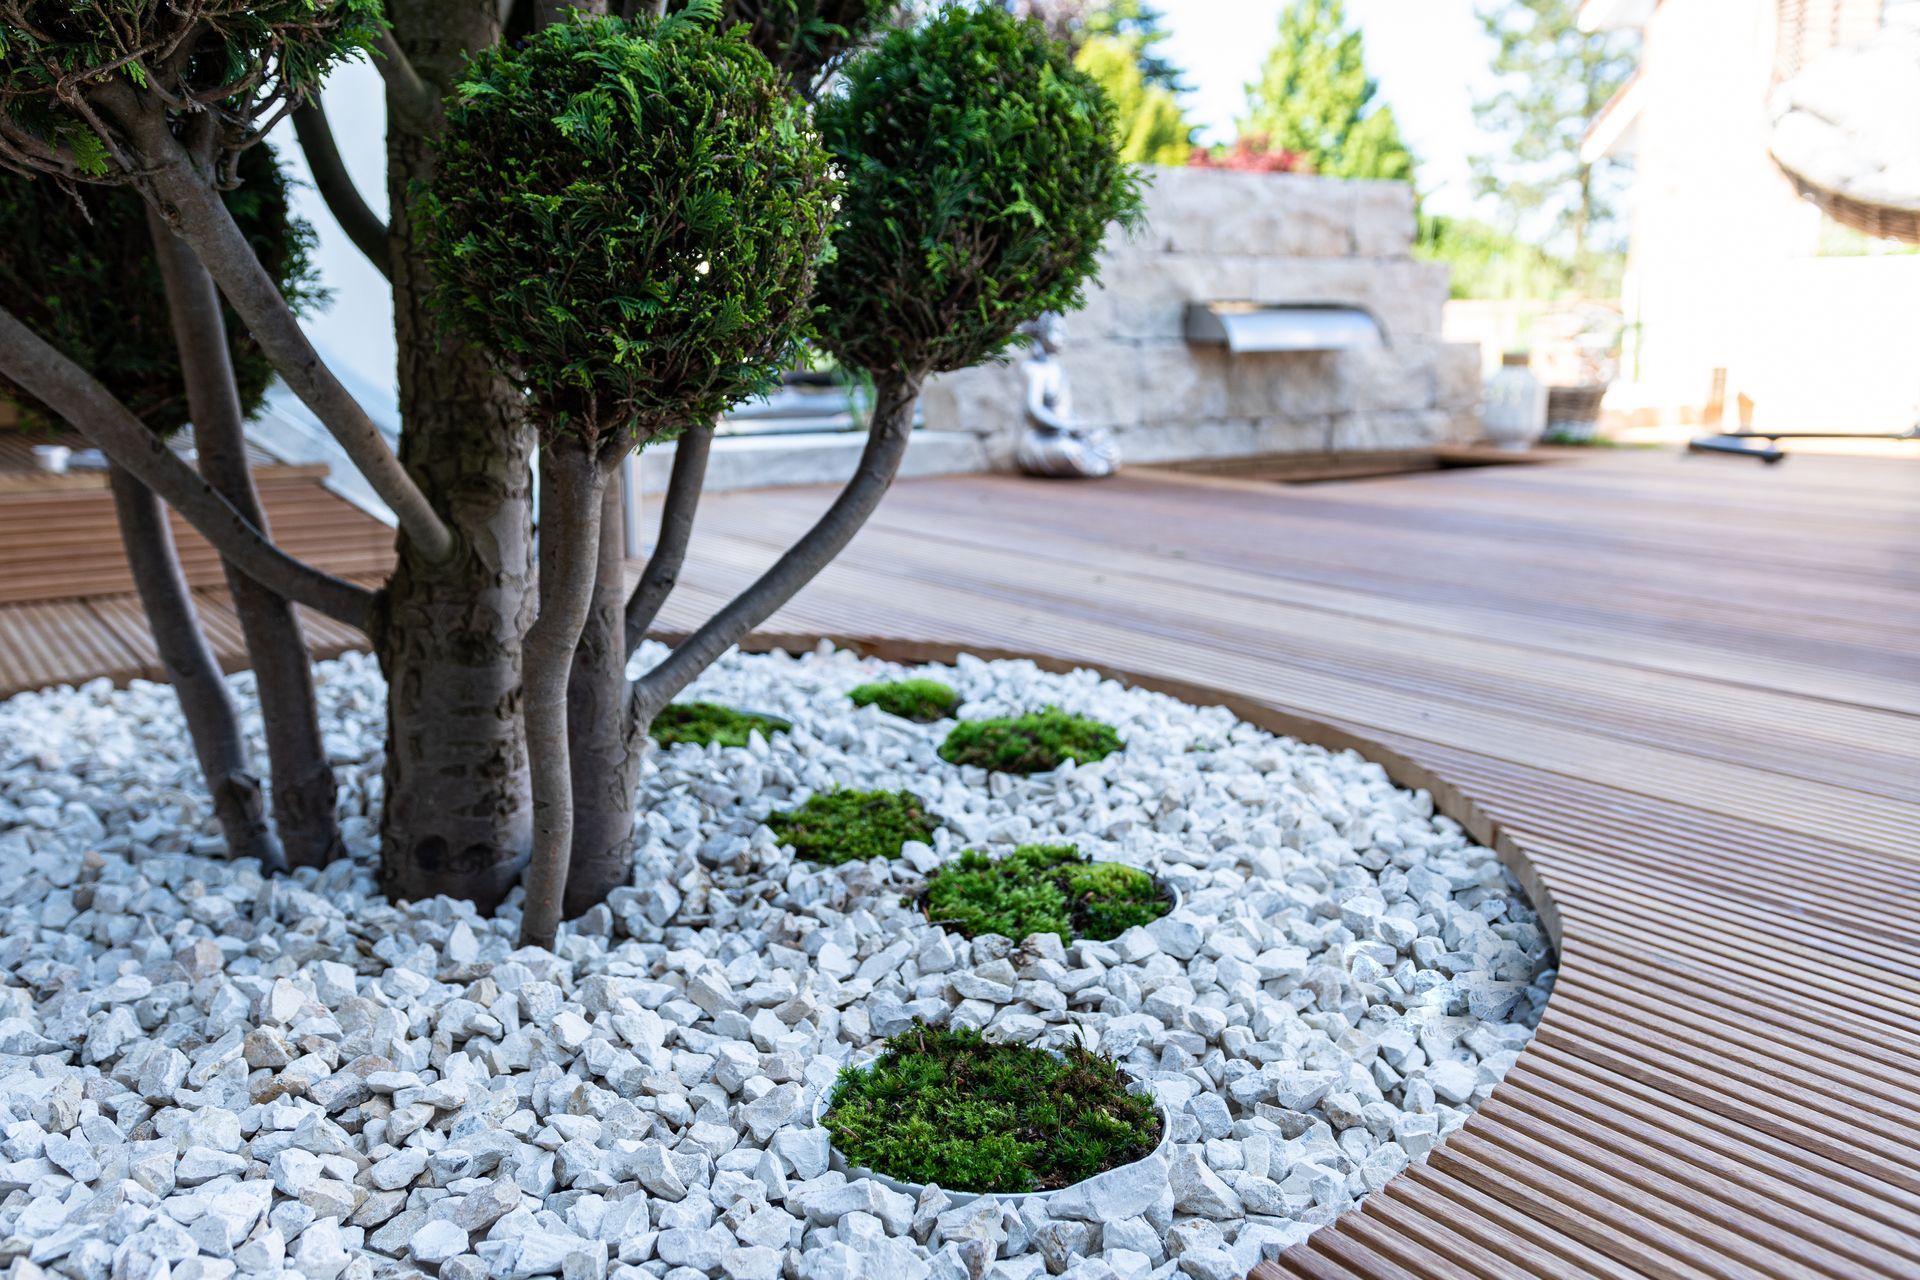
Landscape with trimmed trees, white gravel, and circular green shrubs beside a patterned walkway
May 31, 2026
Compare decorative rock and mulch for landscaping. Learn differences in cost, maintenance, appearance, and best uses for Southern California landscapes.
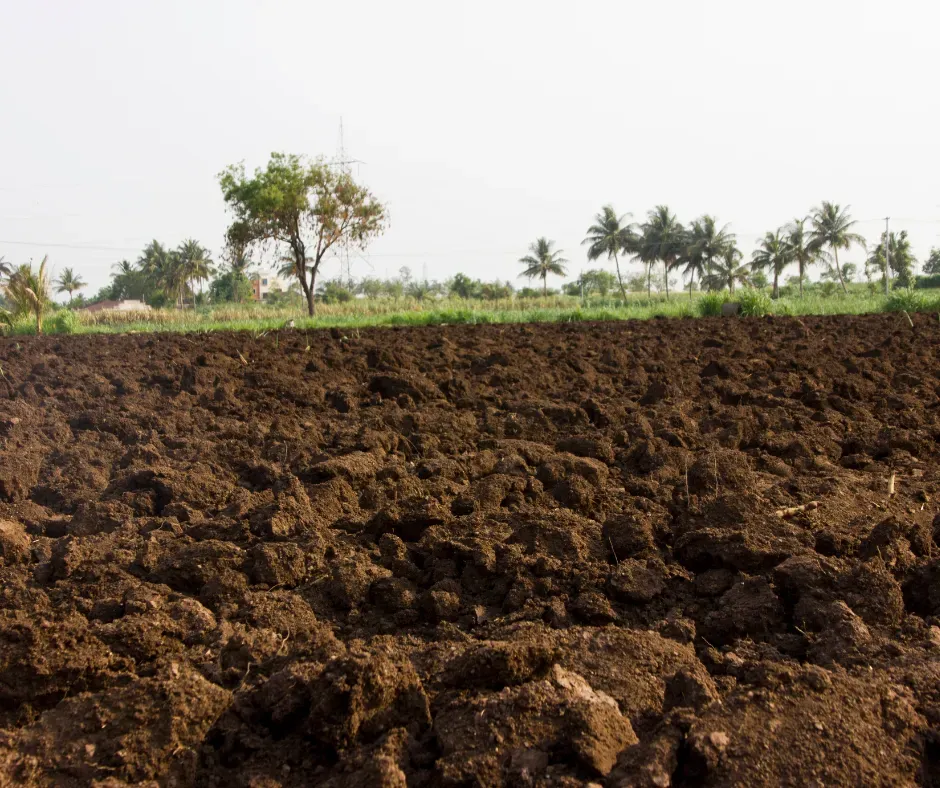
Freshly plowed dark soil in foreground with a line of green trees under a hazy sky
April 23, 2026
Get your landscape ready for spring with sustainable soil and mulch practices. Learn composting, soil testing, organic amendments, and water-saving tips.
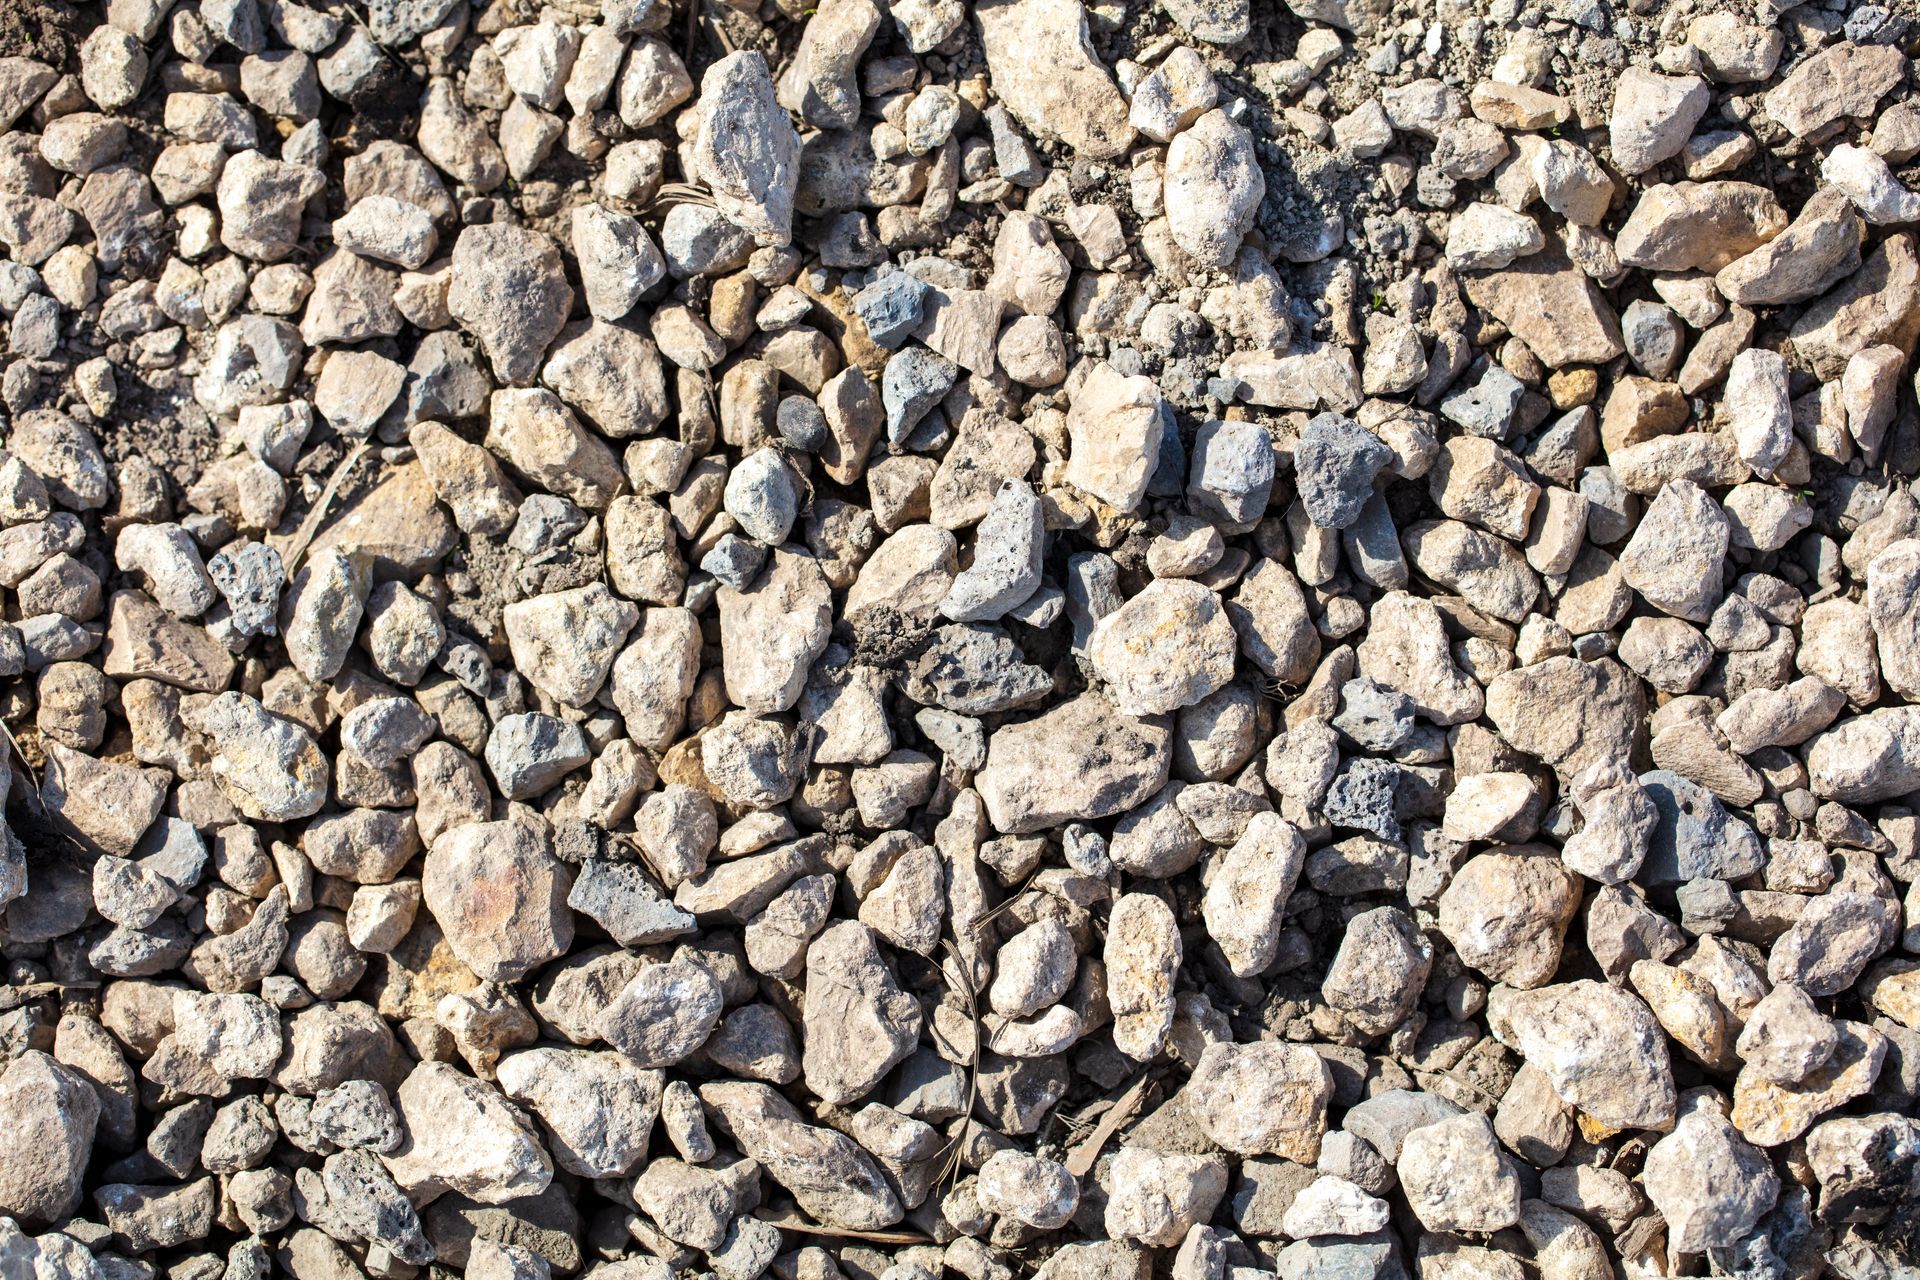
Gravel surface with various sized gray, beige, and brown rocks.
February 13, 2026
Discover landscape design ideas using aggregate and crushed rock for pathways, borders, and dry creek beds that offer durability and low maintenance.
Playground with a slide, climbing structure, and swing set, surrounded by grass and trees.
January 20, 2026
Learn what certified playground chips are, how ASTM safety standards protect against injuries, and why schools and parks rely on them for safe play areas.
Handful of wood mulch, held up against a brown background, showing its texture.
December 23, 2025
Prepare your landscape for winter with bark, aggregates, and accessories that protect plants, improve drainage, and maintain healthy soil all season long.
Person wearing orange gloves, spreading brown mulch around green plants from a red bucket.
October 28, 2025
Learn how different types of mulch — organic, colored, shredded, and playground chips — help control weeds, retain moisture, and improve your landscape’s health.
A small plant with green leaves in dark brown soil.
September 25, 2025
Choose the right soil for San Diego landscapes with North County Supply. Clean, custom blends and expert advice for gardens, turf, and large-scale projects.
June 9, 2025
Crushed rock is a durable, low-maintenance material widely used in San Diego landscapes for pathways, garden beds, driveways, and decorative features. While it requires less upkeep than many other materials, regular maintenance ensures that it stays clean, functional, and visually appealing. In this blog post, we’ll share practical tips for maintaining your crushed rock landscape and how to prevent or fix common issues like weed growth and erosion. Why Crushed Rock Needs Maintenance Although crushed rock does not decompose or require watering, it is still exposed to the elements. Over time, weeds can creep in, debris can accumulate, and loose rock can shift or settle. Routine care helps protect your investment and keeps your landscape looking polished. Tips for Keeping Crushed Rock Areas Clean and Attractive 1. Rake Regularly Use a hard-toothed rake to smooth out uneven areas, redistribute rock that may have shifted, and remove surface debris. Raking once every few weeks helps maintain a clean, even appearance. 2. Remove Debris and Organic Material Leaves, twigs, and other debris can build up and create a breeding ground for weeds. Explicit organic material regularly, especially during the fall or after storms, to keep the area tidy and reduce soil buildup. 3. Top Off Low Spots Over time, some rock may migrate or settle. Periodically inspect the area and add fresh crushed rock to maintain consistent depth and appearance. This also helps with drainage and weed suppression. 4. Power Wash or Hose Down When Needed For decorative rock used in high-visibility areas, hosing off dust and dirt can restore the color and freshness of the stone. Use a garden hose with a spray nozzle or a light-pressure power washer. Preventing and Managing Weed Growth Weeds are the most common issue in crushed rock landscapes. They can spoil the clean look of your yard and compete with nearby plants for nutrients and water. 1. Install a Weed Barrier Fabric When laying crushed rock, always start with a high-quality landscape fabric underneath. This creates a physical barrier that blocks weed roots from penetrating while still allowing water to drain through. 2. Apply a Pre-Emergent Herbicide Use a pre-emergent weed control product in early spring to prevent weed seeds from germinating. Be sure to choose a product appropriate for use around ornamental plants if your rock is near garden beds. 3. Spot-Treat or Pull Weeds Promptly Occasional weeds may still appear, especially around the edges or in disturbed areas. Pull them by hand or treat with a targeted herbicide before they spread. Removing them early prevents seed dispersal and saves time later. 4. Maintain Proper Rock Depth A layer of crushed rock that is at least 2 to 3 inches deep provides better weed suppression. If the layer is too thin, light can reach the soil, encouraging weed growth. Preventing and Addressing Erosion Crushed rock can shift or wash away in areas with heavy rainfall or on sloped surfaces. Taking preventive measures will preserve the integrity of your design. 1. Edge the Area with Borders Use edging materials such as metal, wood, concrete, or stone to contain the rock and prevent it from spreading into unwanted areas. Edging also gives pathways and beds a finished, professional look. 2. Compact and Level the Base Before installing crushed rock, ensure the base soil is compacted and level. For driveways or sloped pathways, consider using a mix of crushed rock and fines to create a more stable surface. 3. Add Retaining Features for Slopes In sloped areas, install low retaining walls or terracing to hold rock in place and reduce downhill movement. You can also use jute netting or grid mats beneath the rock for extra stability. 4. Improve Drainage Where Needed If water frequently washes away rock, install drainage channels or dry creek beds to redirect the flow. Proper drainage keeps the rock in place and protects against pooling or flooding. Conclusion Maintaining a crushed rock landscape is relatively simple, but consistent attention is essential to ensure your outdoor space remains clean, attractive, and functional. With a few proactive steps, you can prevent weed growth, minimize erosion, and keep your landscape looking great year-round. At North County Supply, we offer high-quality crushed rock, weed barriers, and expert advice to help you build and maintain your ideal landscape. Stop by or contact us today to learn more about materials and maintenance tips for your next project.
May 12, 2025
Healthy soil is the foundation of a successful garden. Yet many gardeners skip one of the most essential steps before planting: testing their soil. Soil testing gives you critical information about nutrient levels, pH balance, and overall soil health, helping you make informed decisions that lead to more vigorous plants and better yields. In this blog post, we’ll explain why soil testing is important, how to test your soil at home or professionally, and how to interpret your soil test results. Why Soil Testing Matters Whether you're planting vegetables, flowers, or native landscaping, your soil's composition directly affects plant health. A soil test helps answer essential questions: Does your soil have enough nutrients to support healthy growth? Is the pH level appropriate for the plants you want to grow? Are there any nutrient excesses that could be harmful? Without testing, you're left guessing. You might over-fertilize, underfeed, or plant in unsuitable conditions without even realizing it. Soil testing helps you avoid these common mistakes, saves money on unnecessary products, and promotes environmentally responsible gardening. How to Test Soil at Home or Professionally At-Home Soil Testing Kits DIY soil testing kits are available at garden centers and hardware stores. They provide basic information about pH and nutrient levels like nitrogen, phosphorus, and potassium. Steps to use a home soil test kit: Collect soil samples from several spots in your garden, digging 4 to 6 inches deep. Mix the samples together in a clean container to get an average representation of your garden soil. Follow the test kit instructions , typically involving mixing soil with a solution and comparing the color to a chart. Record your results and compare them with your plant’s nutrient and pH requirements. These tests are affordable and provide quick insights, but they may lack the accuracy and depth of professional testing. Professional Soil Testing For more comprehensive results, consider sending your soil to a professional lab. This is especially helpful if you're establishing a new garden, planting specialty crops, or troubleshooting poor plant performance. How to get your soil professionally tested: Contact a local cooperative extension, university lab, or private soil lab. Use a clean tool to collect multiple samples from your garden. Let the soil air dry and send the sample according to the lab's instructions. Most labs provide a detailed report within one to two weeks, often with recommendations based on your intended plant types. Professional testing evaluates additional elements, such as calcium, magnesium, sulfur, and micronutrients, providing a more comprehensive picture of your soil's health. Interpreting Soil Test Results Once you receive your soil test results, it’s time to put them to use. Most test reports include the following: pH Level The pH scale runs from 0 to 14. Most garden plants prefer a slightly acidic to neutral range (6.0 to 7.0). If the pH is too high (alkaline) or too low (acidic), plants may not absorb nutrients efficiently. Low pH (acidic): Add lime to raise pH. High pH (alkaline): Add sulfur or organic matter to lower pH. Macronutrients Nitrogen (N): Essential for leafy growth. Deficiencies lead to yellowing leaves and stunted growth. Phosphorus (P): Supports root development and flowering. Low levels reduce bloom production. Potassium (K): Aids in overall plant health, drought resistance, and disease prevention.  A soil test will indicate whether these are low, adequate, or excessive. Based on the results, you can choose the right type and amount of fertilizer or soil amendment. Micronutrients Professional tests may include levels of iron, manganese, zinc, copper, and boron. While needed in smaller quantities, these elements are still essential for plant health. Organic Matter and Texture Some tests will also assess the percentage of organic matter and soil texture (comprising sand, silt, and clay). This helps determine how well your soil holds moisture and nutrients. Final Thoughts Soil testing is a simple yet powerful step in building a healthy, productive garden. Whether you're growing vegetables, ornamentals, or drought-tolerant landscapes in San Diego, understanding your soil's condition will guide you toward better choices and better results. At North County Supply , we offer quality soil amendments, compost, and mulch to help you act on your test results and build better soil. Need help interpreting your soil report? Our team is happy to point you in the right direction. Contact us or stop by today to learn more.