How to Properly Apply Mulch for Optimal Results


Mulching is one of the most effective ways to improve the health and appearance of your garden, but to get the best results, it's essential to apply mulch correctly. In this blog post, we'll provide a step-by-step guide to mulching and highlight some common mistakes to avoid, ensuring your garden thrives.


Step-by-Step Guide to Mulching

Step 1: Choose the Right Mulch

The first step to successful mulching is selecting the right mulch for your garden. Consider the following factors:

  • Purpose: Determine whether you need mulch for moisture retention, weed control, aesthetic appeal, or a combination.
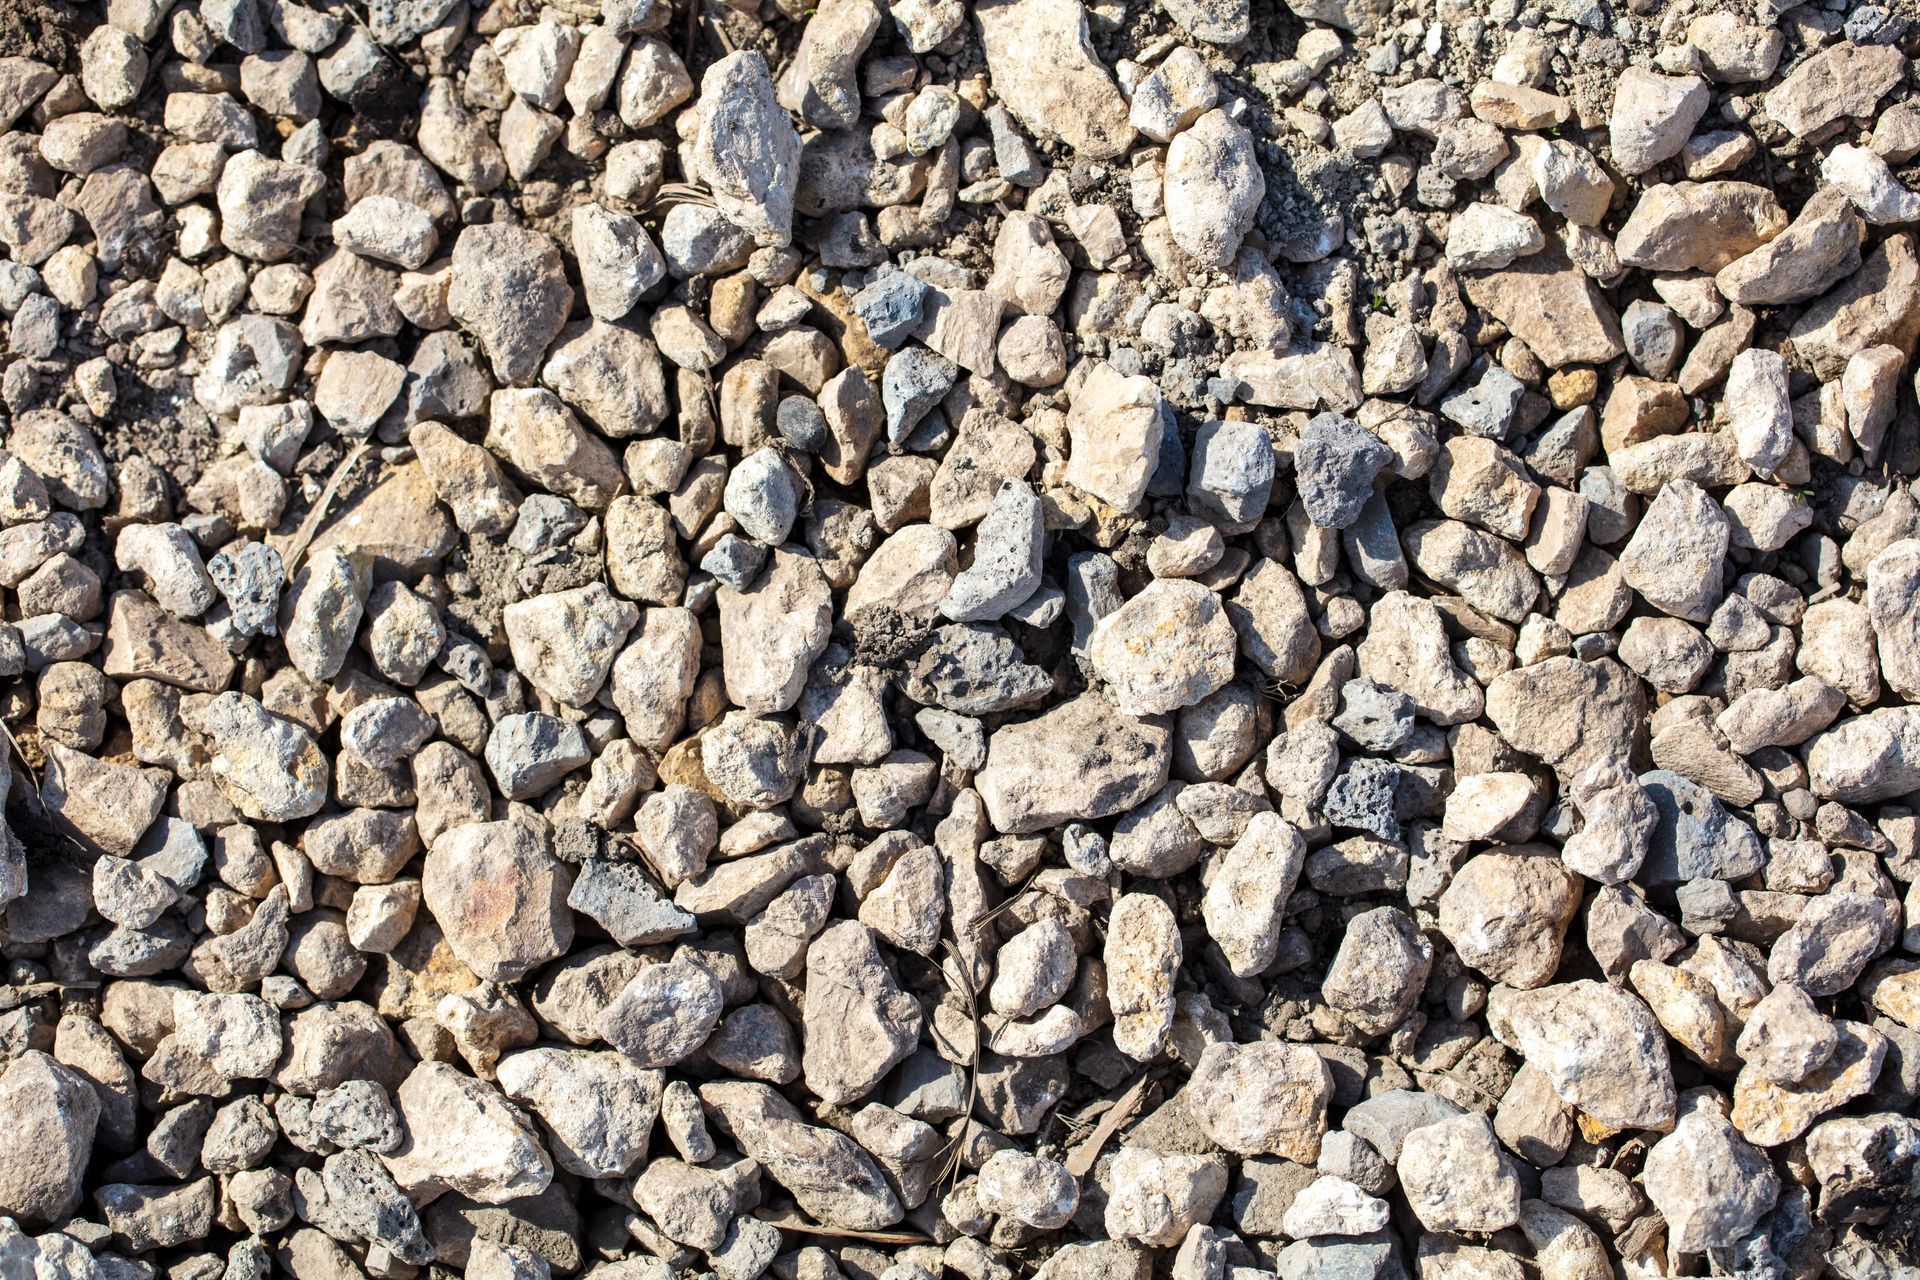
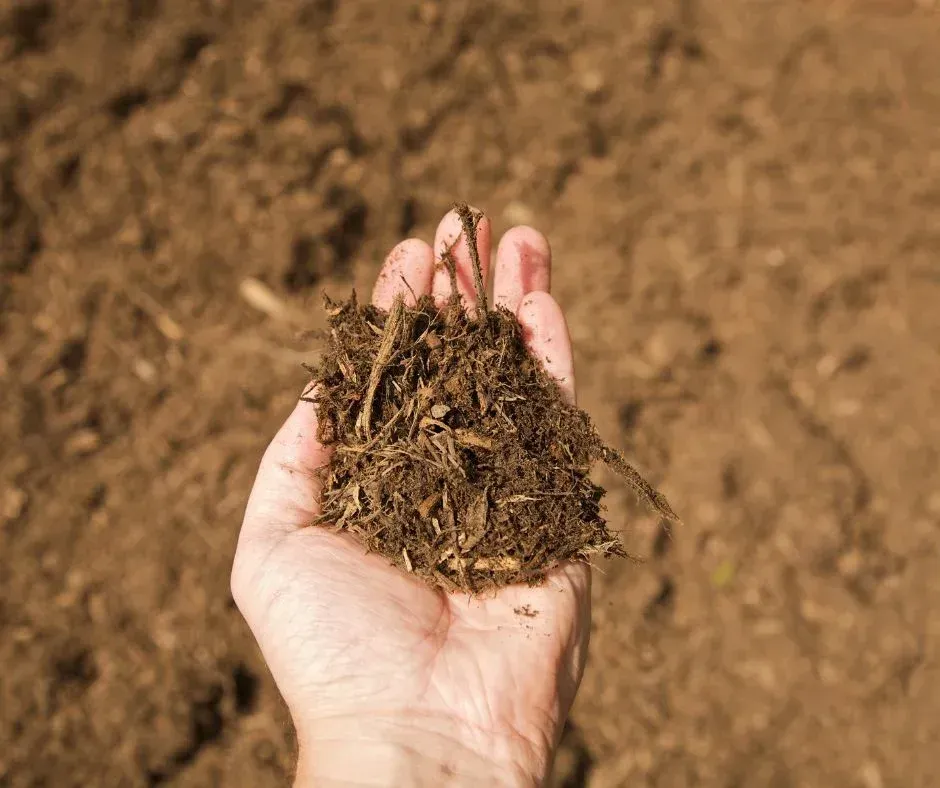
  • Type: Organic mulches (like wood chips, bark, straw, or compost) are great for improving soil health, while inorganic mulches (such as gravel, stones, or landscape fabric) are ideal for long-term weed control and areas with heavy foot traffic.


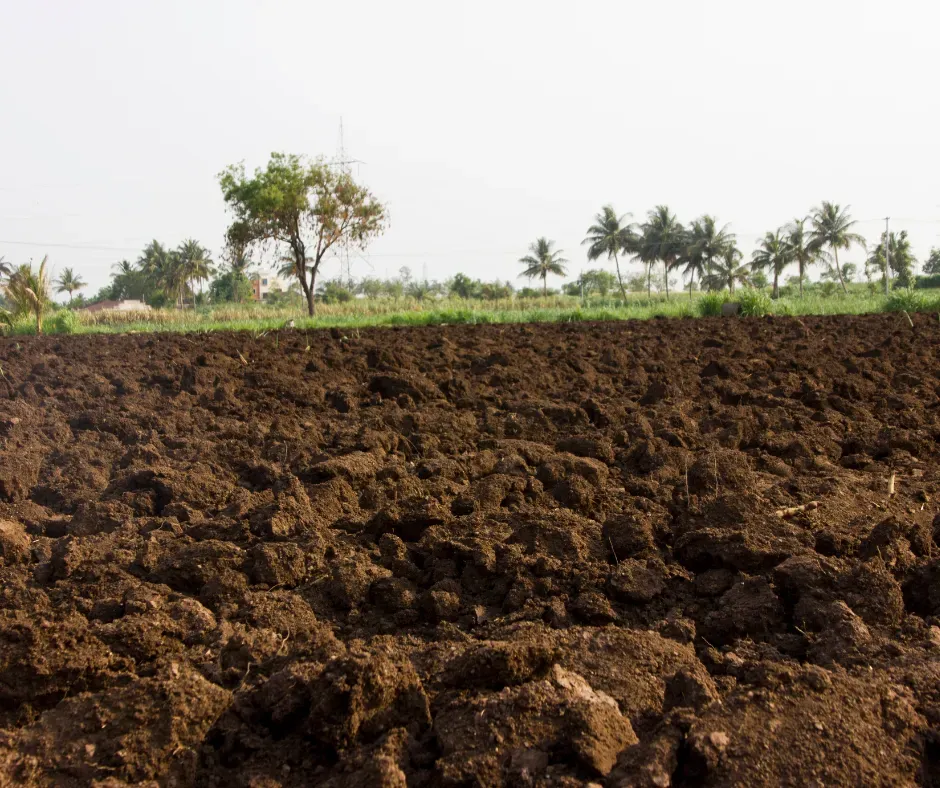
Step 2: Prepare the Area

Before applying mulch, it's crucial to prepare the area properly:

  • Weed Removal: Remove any existing weeds by hand or with a hoe. Applying mulch over weeds will be less effective, as some resilient weeds can push through the mulch layer.
  • Soil Preparation: Loosen the soil with a rake or garden fork, and, if needed, add compost or other soil amendments to improve soil quality.
  • Edging: Use an edging tool or spade to create a clear edge around the mulching area. This helps keep the mulch contained and prevents it from spilling into unwanted areas.


Step 3: Apply the Mulch

Once the area is prepared, it's time to apply the mulch:

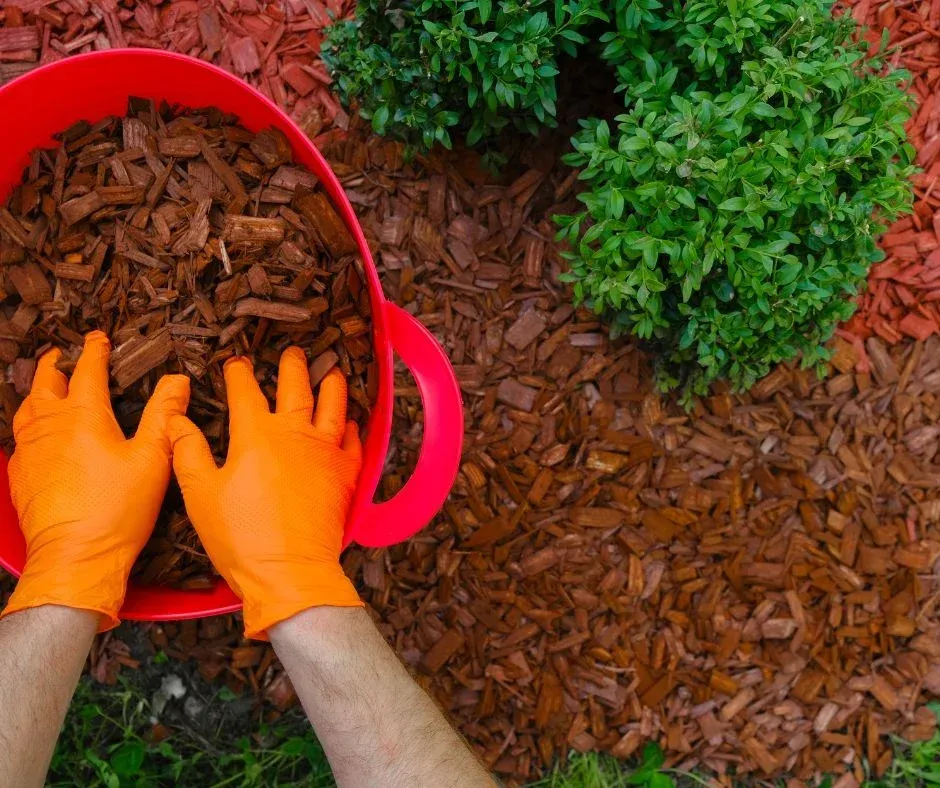
  • Layer Thickness: Spread mulch evenly over the soil surface. A layer of 2-4 inches is generally recommended. Thicker layers are suitable for weed control, but avoid going overboard as too much mulch can suffocate plant roots.
  • Avoid Mulch Volcanoes: When mulching around trees and shrubs, avoid piling the mulch up against the base of the plant (a practice known as creating "mulch volcanoes"). Instead, keep the mulch 2-3 inches away from the trunk or stem to prevent moisture buildup and rot.
  • Smooth and Level: Use a rake or your hands to smooth and level the mulch, ensuring even coverage. This helps create a uniform appearance and prevents water from pooling in certain areas.


Step 4: Water the Mulch

After applying the mulch, water it thoroughly to help it settle into place. This also helps to start the decomposition process for organic mulches and reduces the risk of mulch blowing away in windy conditions.


Step 5: Maintain the Mulch

To keep your mulch effective, regular maintenance is key:

  • Replenish as Needed: Organic mulch will break down over time, so you'll need to add a fresh layer every year or as needed to maintain the desired thickness.
  • Inspect for Pests: While mulch is generally beneficial, it can sometimes attract pests like termites or rodents. Check your mulch periodically and address any pest issues promptly.
  • Fluff the Mulch: Mulch can become compacted over time. Fluffing it with a rake or garden fork helps improve air circulation and maintain its effectiveness.


Common Mistakes to Avoid When Applying Mulch

To ensure your mulching efforts are successful, avoid these common mistakes:

  • Using the Wrong Type of Mulch: Not all mulch is created equal. Using the wrong type for your garden needs can lead to poor results. For example, using fine mulch in a windy area can result in it being blown away, while coarse mulch may not retain adequate moisture for delicate plants.
  • Applying Too Much Mulch: While a thick layer of mulch can effectively control weeds, too much can suffocate plant roots, leading to poor growth or even plant death. Stick to the recommended 2-4 inches.
  • Mulch Volcanoes: Piling mulch against tree trunks or plant stems can lead to moisture buildup and rot. Always leave space around the base of plants.
  • Ignoring Soil Preparation: Mulching over compacted or poor-quality soil will not yield the best results. Prepare your soil before applying mulch.
  • Neglecting Maintenance: Mulch needs to be maintained to stay effective. Failing to replenish or fluff mulch can reduce its benefits over time.


Conclusion

Applying mulch properly is key to maximizing its benefits in your garden. By following this step-by-step guide and avoiding common mistakes, you can enhance the health and appearance of your plants while reducing maintenance and water usage. Whether you're using mulch to retain moisture, control weeds, or improve soil health, applying it correctly will ensure your garden thrives for future seasons.

Desert garden with succulents and shrubs beside a sidewalk, with buildings and blue sky in the background
July 26, 2026
Explore water-wise landscape materials — rock, mulch, soils & erosion control — from North County Supply for drought-tolerant SoCal yards.
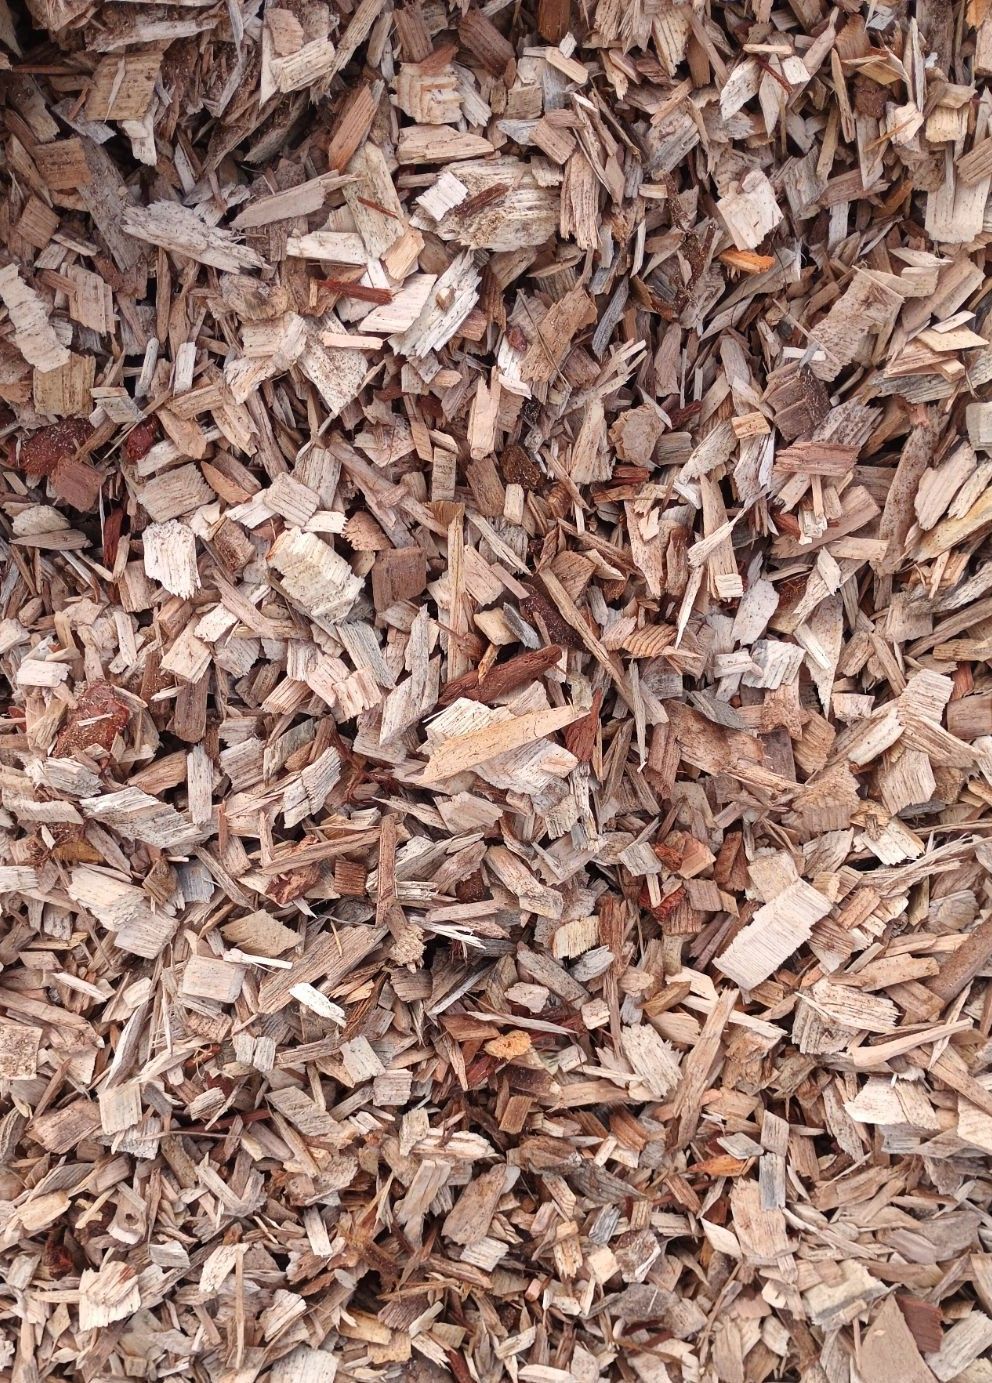
Close-up of brown wood chips mulch filling the frame
June 28, 2026
Learn how to calculate soil, mulch, gravel, and rock quantities for landscaping projects. Avoid costly ordering mistakes with this practical estimating guide.
Landscape with trimmed trees, white gravel, and circular green shrubs beside a patterned walkway
May 31, 2026
Compare decorative rock and mulch for landscaping. Learn differences in cost, maintenance, appearance, and best uses for Southern California landscapes.
Freshly plowed dark soil in foreground with a line of green trees under a hazy sky
April 23, 2026
Get your landscape ready for spring with sustainable soil and mulch practices. Learn composting, soil testing, organic amendments, and water-saving tips.
Gravel surface with various sized gray, beige, and brown rocks.
February 13, 2026
Discover landscape design ideas using aggregate and crushed rock for pathways, borders, and dry creek beds that offer durability and low maintenance.
Playground with a slide, climbing structure, and swing set, surrounded by grass and trees.
January 20, 2026
Learn what certified playground chips are, how ASTM safety standards protect against injuries, and why schools and parks rely on them for safe play areas.
Handful of wood mulch, held up against a brown background, showing its texture.
December 23, 2025
Prepare your landscape for winter with bark, aggregates, and accessories that protect plants, improve drainage, and maintain healthy soil all season long.
Person wearing orange gloves, spreading brown mulch around green plants from a red bucket.
October 28, 2025
Learn how different types of mulch — organic, colored, shredded, and playground chips — help control weeds, retain moisture, and improve your landscape’s health.
A small plant with green leaves in dark brown soil.
September 25, 2025
Choose the right soil for San Diego landscapes with North County Supply. Clean, custom blends and expert advice for gardens, turf, and large-scale projects.
June 9, 2025
Crushed rock is a durable, low-maintenance material widely used in San Diego landscapes for pathways, garden beds, driveways, and decorative features. While it requires less upkeep than many other materials, regular maintenance ensures that it stays clean, functional, and visually appealing. In this blog post, we’ll share practical tips for maintaining your crushed rock landscape and how to prevent or fix common issues like weed growth and erosion. Why Crushed Rock Needs Maintenance Although crushed rock does not decompose or require watering, it is still exposed to the elements. Over time, weeds can creep in, debris can accumulate, and loose rock can shift or settle. Routine care helps protect your investment and keeps your landscape looking polished. Tips for Keeping Crushed Rock Areas Clean and Attractive 1. Rake Regularly Use a hard-toothed rake to smooth out uneven areas, redistribute rock that may have shifted, and remove surface debris. Raking once every few weeks helps maintain a clean, even appearance. 2. Remove Debris and Organic Material Leaves, twigs, and other debris can build up and create a breeding ground for weeds. Explicit organic material regularly, especially during the fall or after storms, to keep the area tidy and reduce soil buildup. 3. Top Off Low Spots Over time, some rock may migrate or settle. Periodically inspect the area and add fresh crushed rock to maintain consistent depth and appearance. This also helps with drainage and weed suppression. 4. Power Wash or Hose Down When Needed For decorative rock used in high-visibility areas, hosing off dust and dirt can restore the color and freshness of the stone. Use a garden hose with a spray nozzle or a light-pressure power washer. Preventing and Managing Weed Growth Weeds are the most common issue in crushed rock landscapes. They can spoil the clean look of your yard and compete with nearby plants for nutrients and water. 1. Install a Weed Barrier Fabric When laying crushed rock, always start with a high-quality landscape fabric underneath. This creates a physical barrier that blocks weed roots from penetrating while still allowing water to drain through. 2. Apply a Pre-Emergent Herbicide Use a pre-emergent weed control product in early spring to prevent weed seeds from germinating. Be sure to choose a product appropriate for use around ornamental plants if your rock is near garden beds. 3. Spot-Treat or Pull Weeds Promptly Occasional weeds may still appear, especially around the edges or in disturbed areas. Pull them by hand or treat with a targeted herbicide before they spread. Removing them early prevents seed dispersal and saves time later. 4. Maintain Proper Rock Depth A layer of crushed rock that is at least 2 to 3 inches deep provides better weed suppression. If the layer is too thin, light can reach the soil, encouraging weed growth. Preventing and Addressing Erosion Crushed rock can shift or wash away in areas with heavy rainfall or on sloped surfaces. Taking preventive measures will preserve the integrity of your design. 1. Edge the Area with Borders Use edging materials such as metal, wood, concrete, or stone to contain the rock and prevent it from spreading into unwanted areas. Edging also gives pathways and beds a finished, professional look. 2. Compact and Level the Base Before installing crushed rock, ensure the base soil is compacted and level. For driveways or sloped pathways, consider using a mix of crushed rock and fines to create a more stable surface. 3. Add Retaining Features for Slopes In sloped areas, install low retaining walls or terracing to hold rock in place and reduce downhill movement. You can also use jute netting or grid mats beneath the rock for extra stability. 4. Improve Drainage Where Needed If water frequently washes away rock, install drainage channels or dry creek beds to redirect the flow. Proper drainage keeps the rock in place and protects against pooling or flooding. Conclusion Maintaining a crushed rock landscape is relatively simple, but consistent attention is essential to ensure your outdoor space remains clean, attractive, and functional. With a few proactive steps, you can prevent weed growth, minimize erosion, and keep your landscape looking great year-round. At North County Supply, we offer high-quality crushed rock, weed barriers, and expert advice to help you build and maintain your ideal landscape. Stop by or contact us today to learn more about materials and maintenance tips for your next project.