Soil Testing Demystified: A Step-by-Step Guide for Gardeners

Are you struggling to get your garden to flourish, no matter how much time and effort you put into it? The secret to a thriving garden often lies beneath the surface—literally. Understanding the composition and health of your soil is the key to unlocking the full potential of your garden. In this comprehensive guide, we will demystify soil testing and provide you with a step-by-step process to ensure your garden soil is in its best condition.
Why Soil Testing Matters
Before we dive into the step-by-step guide, let's understand why soil testing is essential for any gardener:
- Optimize Nutrient Levels: Soil testing helps you determine the nutrient levels in your soil. This information allows you to adjust fertilization and ensure your plants receive the right nutrients for healthy growth.
- pH Balance: Different plants thrive at different pH levels. Soil testing helps you identify your soil's pH and allows you to adjust it to suit the needs of your plants.
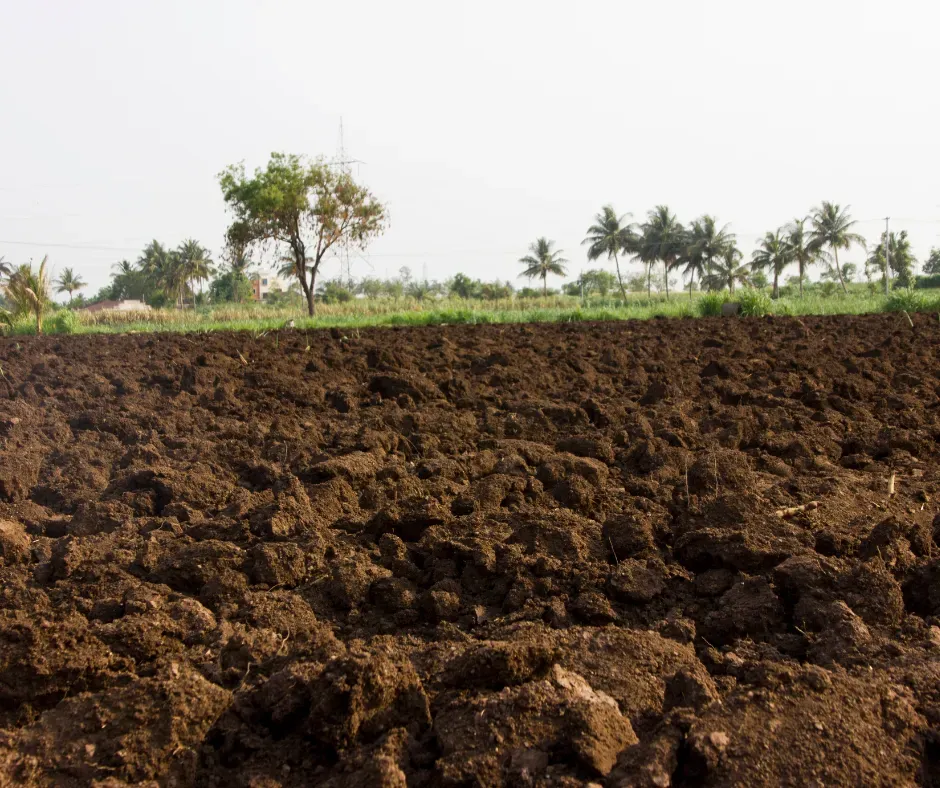
- Soil Texture: Knowing your soil's texture (sandy, loamy, clayey) helps you choose the right plants and improve drainage and aeration.
- Problem Identification: Soil tests can reveal any soil problems such as nutrient deficiencies, excessive salinity, or contamination, allowing you to address these issues proactively.
- Cost-Efficiency: By tailoring your gardening practices to your soil's specific needs, you can save money on unnecessary fertilizers and soil amendments.
Now, let's get started with the step-by-step guide on how to perform soil testing for your garden.
Step 1: Gather Your Supplies
Before you can test your soil, you'll need a few basic supplies:
- Garden Trowel or Shovel: For collecting soil samples.
- Clean Plastic Bucket: To mix and store the soil samples.
- Soil Test Kits or Lab Services: You can choose between DIY soil test kits available at garden centers or sending samples to a professional lab for more accurate results.
- Gloves: To protect your hands during the process.
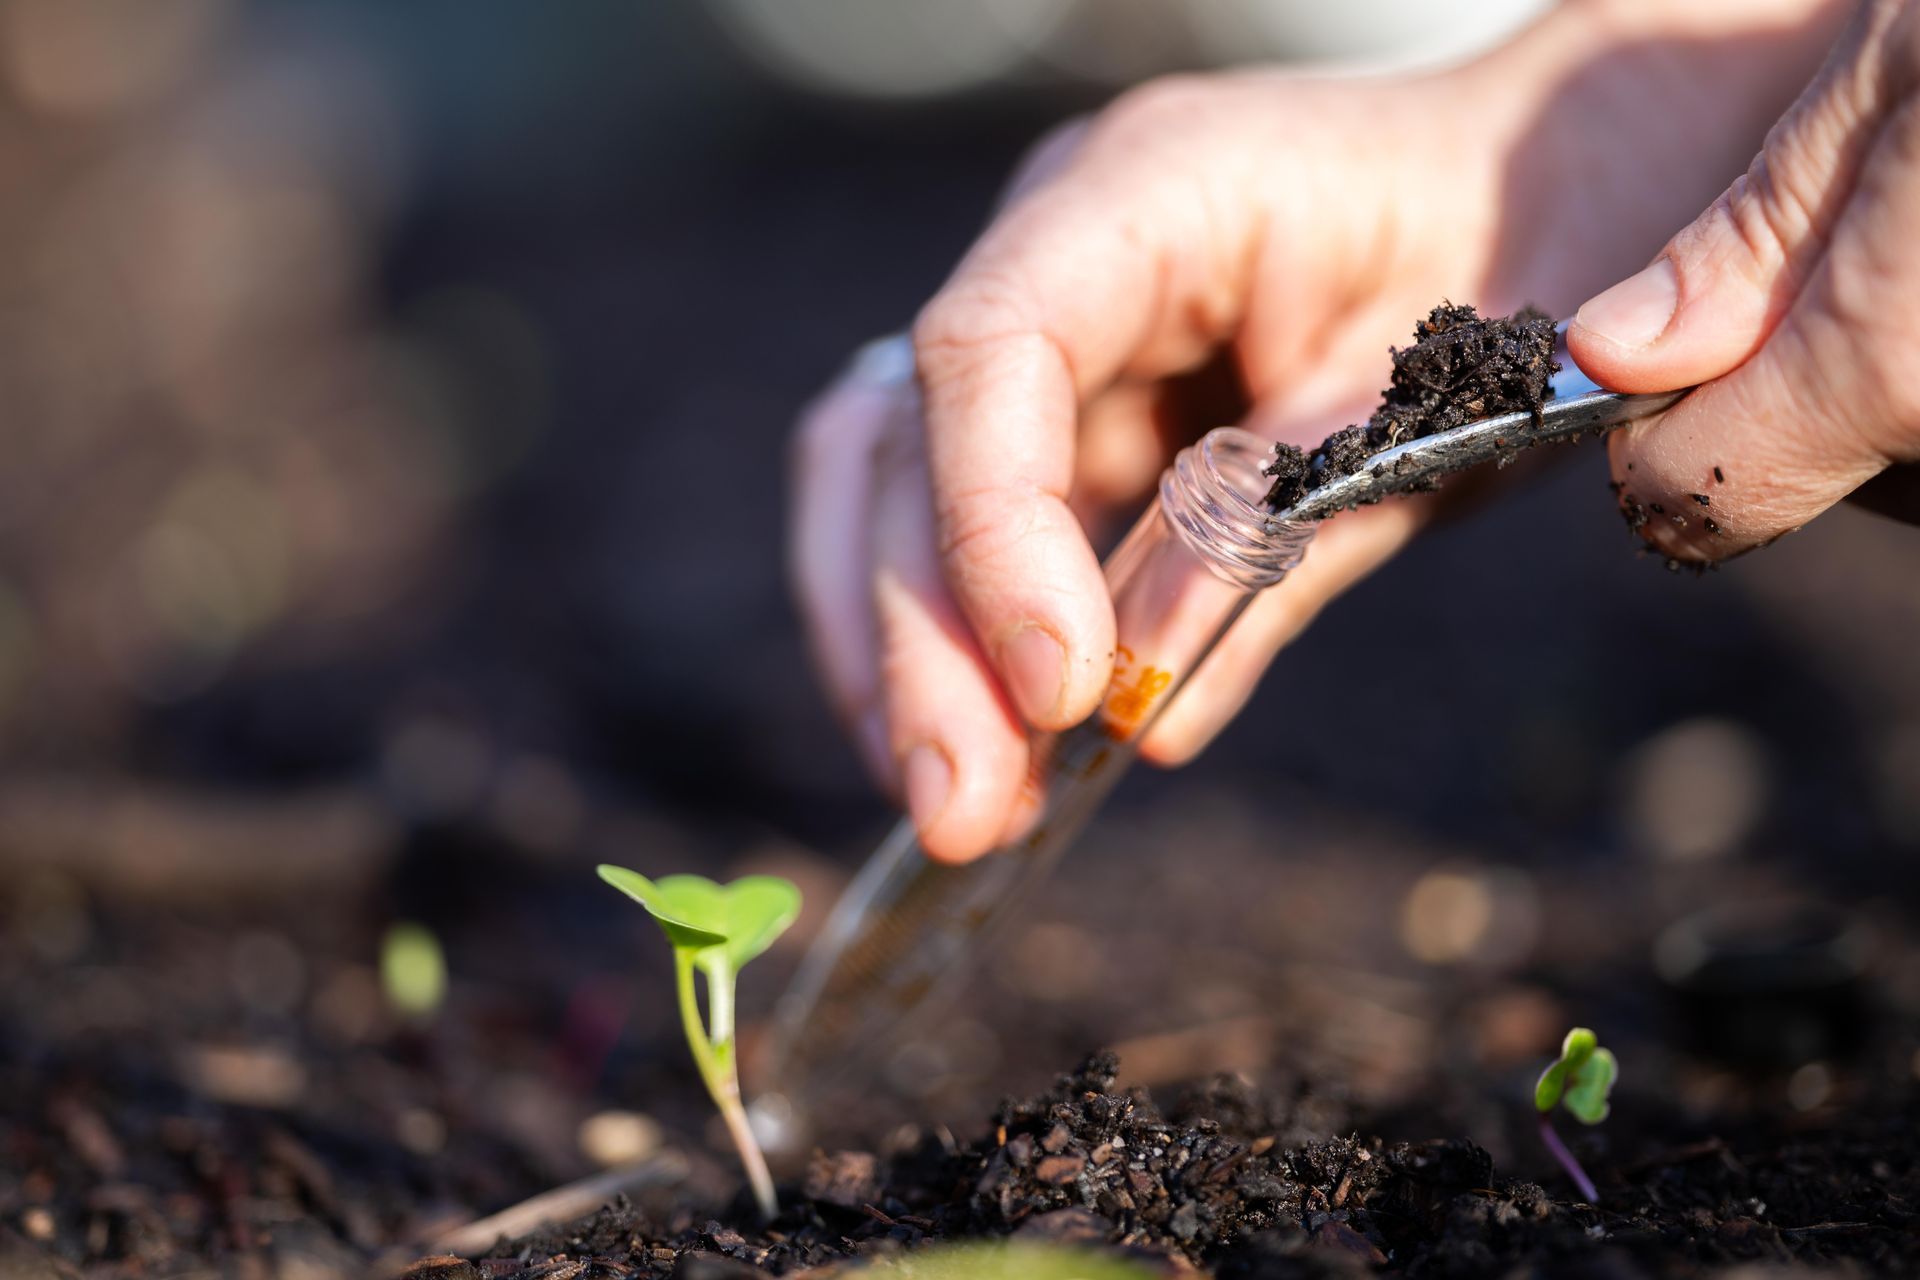
Step 2: Collect Soil Samples
- Choose a representative area of your garden to collect soil samples. Avoid areas with obvious contamination or where recent fertilizers have been applied.
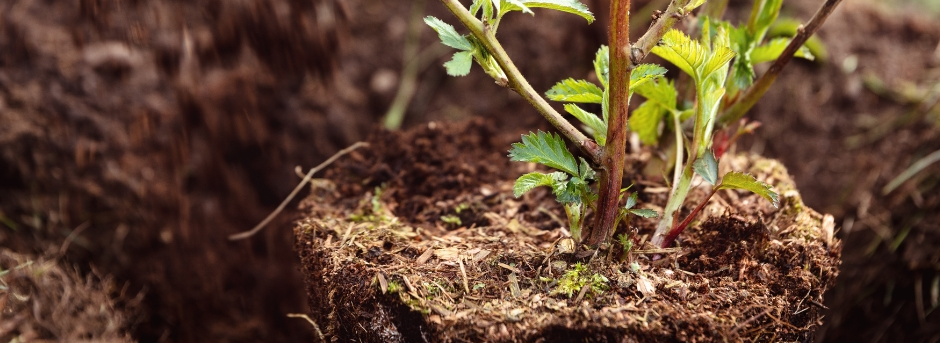
- Use the trowel or shovel to dig a hole about 6-8 inches deep. Collect soil from multiple spots in your garden to get a diverse sample.
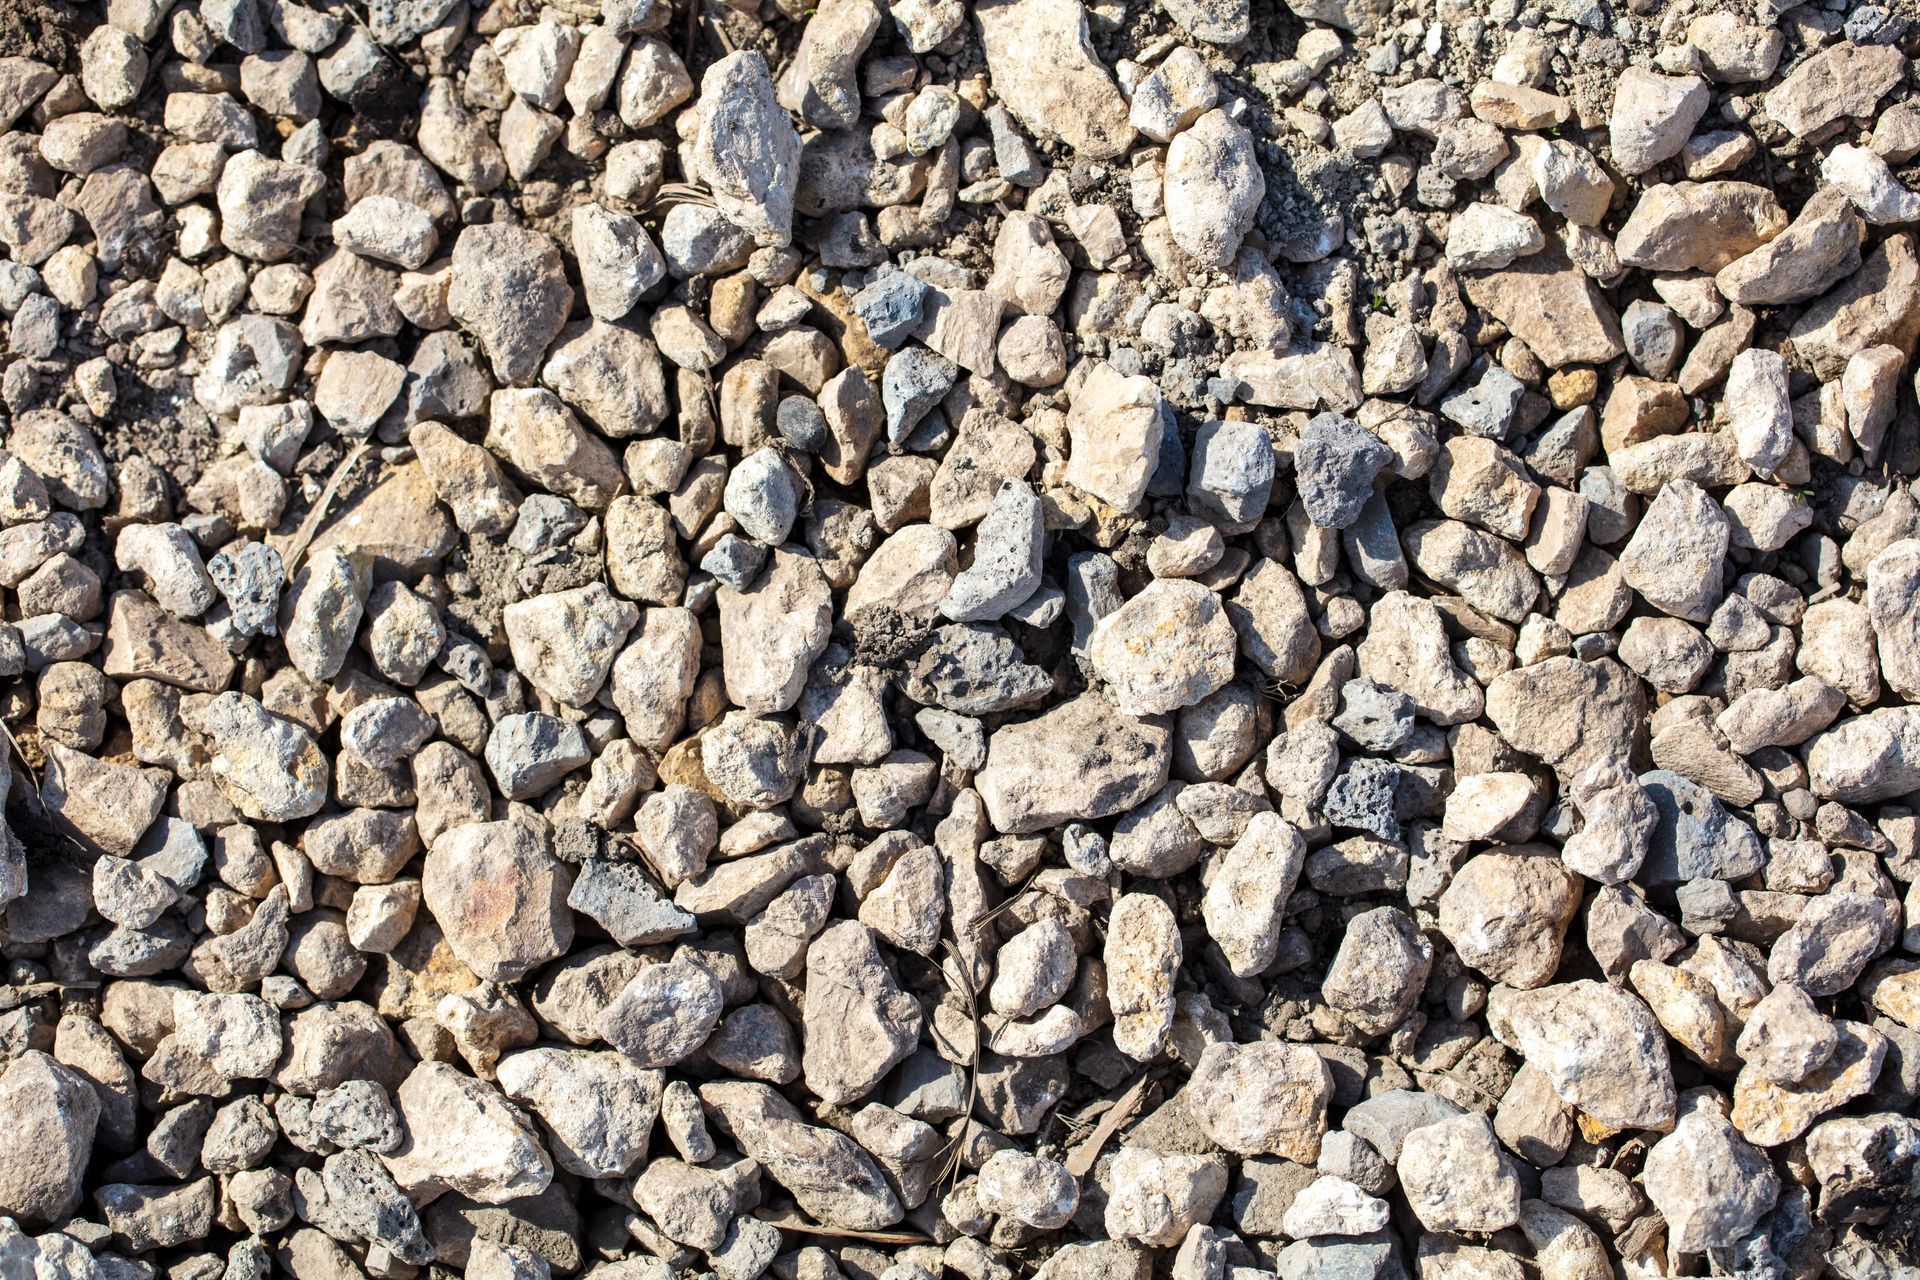
- Remove any debris like rocks, leaves, or roots from the soil. Transfer the soil to the clean plastic bucket.
- Mix the soil thoroughly in the bucket to create a homogenous sample.
Step 3: Perform the Soil Test
Now that you have your soil sample ready, you can proceed with the test:
- Follow the instructions provided with your chosen soil test kit or send the sample to a professional lab as per their guidelines.
- Typically, soil tests measure pH, nutrient levels (nitrogen, phosphorus, potassium), and sometimes additional factors like organic matter content.
Step 4: Interpret the Results
Once you have the test results, it's time to make sense of them:
- Check the pH level. Most garden plants prefer a pH between 6 and 7. Adjust accordingly using lime (to raise pH) or sulfur (to lower pH).
- Analyze nutrient levels. Depending on the plant types you want to grow, you may need to amend your soil with specific fertilizers.
- Consider the soil texture. You can amend your soil to improve drainage or water retention based on the texture.
- If you're unsure about the results, consult with a local horticulturist or gardening expert for guidance.
Step 5: Implement Soil Amendments
Based on your test results and plant preferences, make the necessary soil amendments:
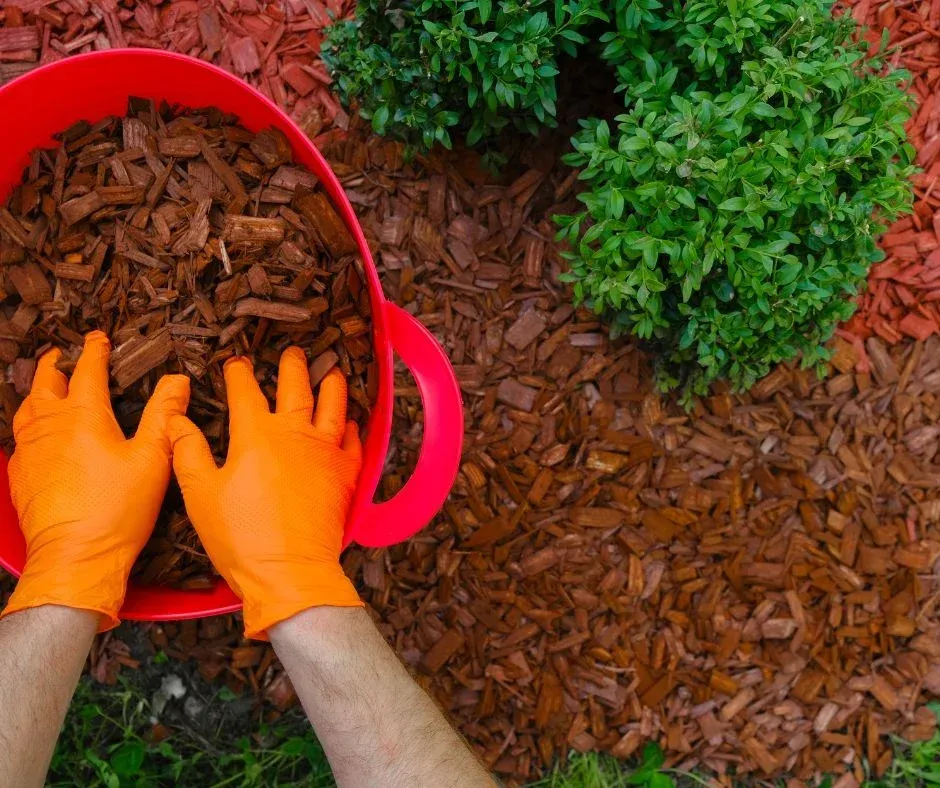
- Add organic matter (compost) to improve overall soil health.
- Incorporate fertilizers to balance nutrient levels.
- Adjust pH as needed.
- Address any specific soil problems identified.
Step 6: Monitor and Maintain
Regularly test your soil, especially before planting new crops or making significant changes to your garden. Monitoring your soil's health ensures that your plants continue to thrive.
In conclusion, soil testing doesn't have to be a mystery for gardeners. By following this step-by-step guide, you can unlock the full potential of your garden by providing the ideal soil conditions for your plants. Remember, a little knowledge about your soil can go a long way in creating a lush and vibrant garden. Happy gardening!
North County Supply is the only shop you'll need for all of your landscape material needs!
We carry a wide variety of materials including mulch, playground chips, soil, and more!
Our knowledgeable staff is always happy to help you find what you need and answer any questions you may have.
Call us at 760-744-3444
North County Supply's Service Locations: San Diego, Escondido, San Marcos, Vista, Oceanside, Carlsbad, Chula Vista, El Cajon, Poway, Santee, Encinitas, Valley Center, La Mesa, Temecula, Murrieta, Coronado, Del Mar, Alpine, Lakeside, Fallbrook, Daley Ranch, Hidden Meadows, Menifee, Solana Beach, Carmel Valley, Ramona, Torrey Pines, Rancho Penasquitos.